Chiptune Theremin
Build Your Own C64-Style Theremin with an ESP32
Ever wanted to wave your hand through the air and summon sweet 8-bit tones like some kind of synth wizard? Well, you’re in luck. This post is all about building a capacitive theremin, using an ESP32, a simple audio DAC, and whatever metal stick you’ve got lying around.
Inspired by the eerie vibe of the original RCA theremin and the crunchy textures of the Commodore 64 SID chip, this little project is compact, cheap, and ridiculously fun.
What’s a Theremin, Really?
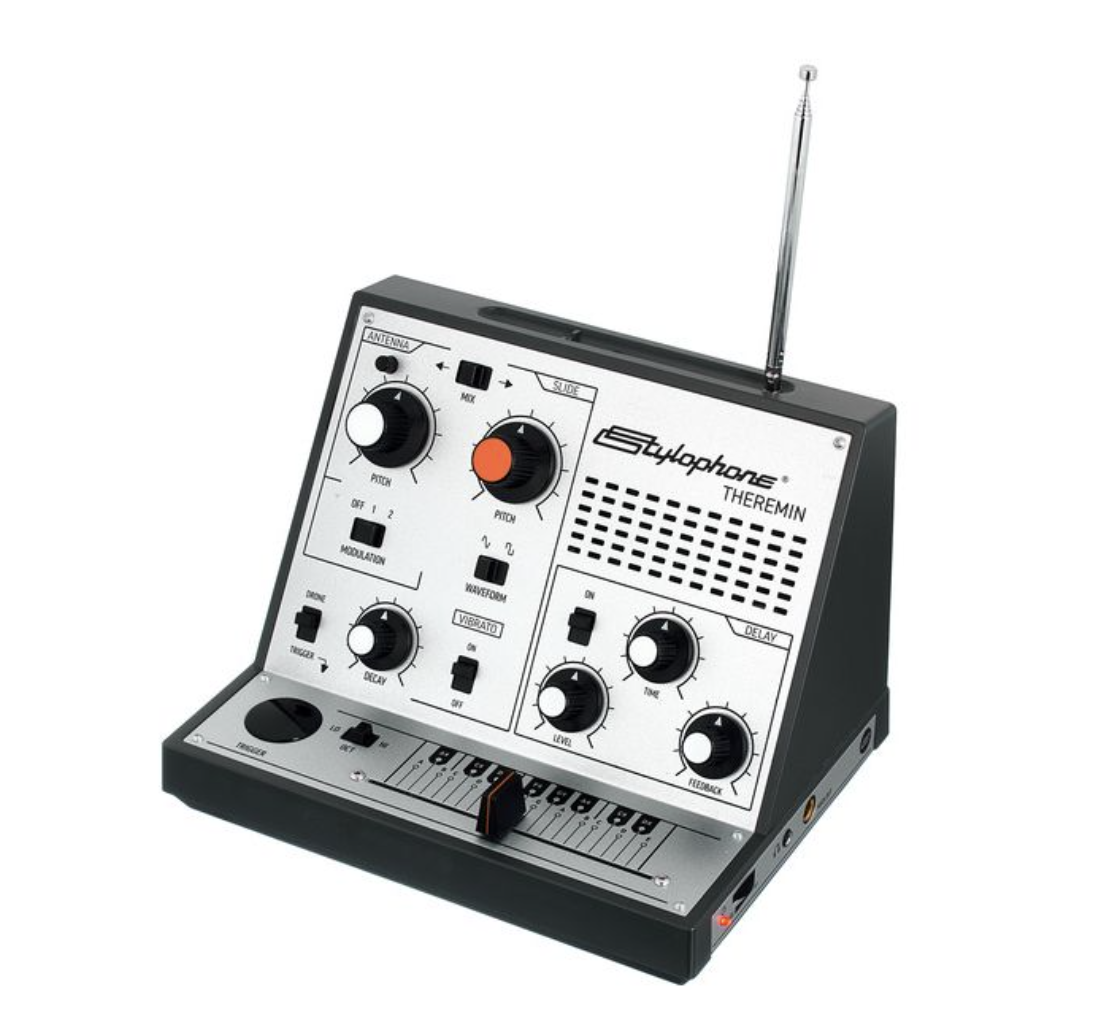
The original theremin, invented in 1920 by Léon Theremin, is one of the earliest electronic instruments—and still one of the weirdest. It’s played without physical contact: one hand controls pitch by varying distance to a vertical antenna, and the other controls volume via a horizontal antenna.
It works by detecting changes in capacitance—in essence, how your body influences the surrounding electric field. Classic theremins use analog RF oscillators to do this. But we’ll fake it with digital means:
- An ESP32 will measure variations in capacitive touch using a metal antenna.
- It will then map that to a pitch, which is rendered as audio using I²S output.
- That audio is fed to a simple DAC + amp (MAX98357A) and blasted out to a speaker.
We’re not trying to be 100% faithful to analog theremins—we’re building a C64-style digital clone with some nods to retro tech and chipmusic.
What Are We Building?
- A theremin-like instrument that reacts to your hand
- Pitch controlled by capacitive antenna (your hand gets closer → pitch goes lower)
- Audio generated digitally (no analog oscillators here!)
- Output via I²S DAC/amplifier (MAX98357A)
- Waveform: square wave, SID-style. Later we’ll add more.
Parts You’ll Need
| Part | Purpose |
|---|---|
| ESP32 DevKit | The brains of the synth |
| MAX98357A | Audio DAC + amplifier |
| Copper wire / metal rod / old antenna | The pitch antenna |
| Speaker (3W / 8Ω) | For the glorious sound |
| USB power | Power supply |
Wiring It Up
1 | [ESP32 DevKit V1] |
Simple. Clean. No magic.
Choosing Your Antenna
| Type | Pros | Cons |
|---|---|---|
| Vertical metal rod (30–60 cm) | Expressive, easy to find | Can pick up noise |
| Old telescopic radio antenna | Retro, adjustable | May be rare |
| Vertical spiral | Sensitive, compact | More DIY work |
| Metal plate / CD / foil | Stable signal | Less theatrical |
| Insulated wire | Just don’t. | Not sensitive enough |
Pro tip: Can’t solder to aluminum? Don’t. Use a ring terminal and bolt it in. Or use a croc clip.
Step 1: Read the antenna
Let’s test how reactive your antenna is.
1 |
|
You should see the values drop when your hand gets close. If not, your antenna needs more exposure (dédune it, use metal, make it longer, etc.).
Step 2: Make it sing (square wave output)
Let’s generate a SID-style square wave, pitch-controlled by your hand.
1 |
|
Where to Go From Here
- Add a second antenna (or capacitive pad) for volume or vibrato
- Add an OLED display to show pitch
- Try new waveforms: triangle, noise, whatever feels C64ish
- Add a bitcrusher effect for real lo-fi grit
- Add touch buttons to switch octaves or modes
Final thoughts
This thing is weird, fun, and surprisingly playable. If you like DIY synths, 8-bit aesthetics, or just waving your hand in the air like a techno-sorcerer, it’s absolutely worth it.
Let me know if you want a version with effects, MIDI out, or SID-style filters. I’m already working on a polyphonic build…
Stay noisy.